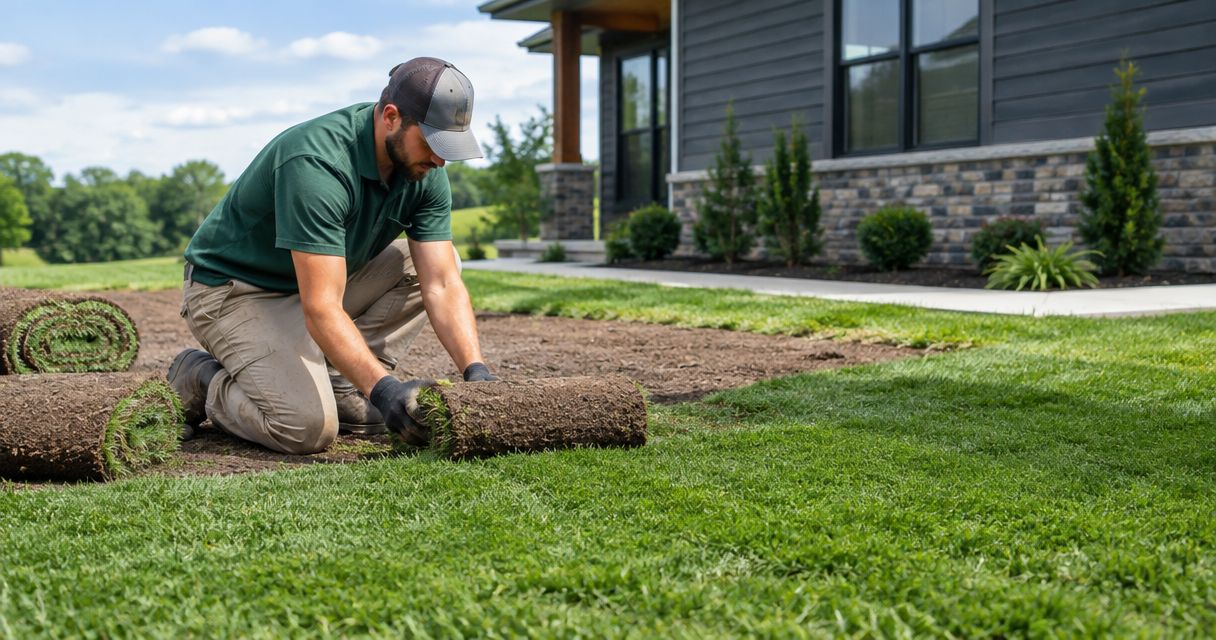
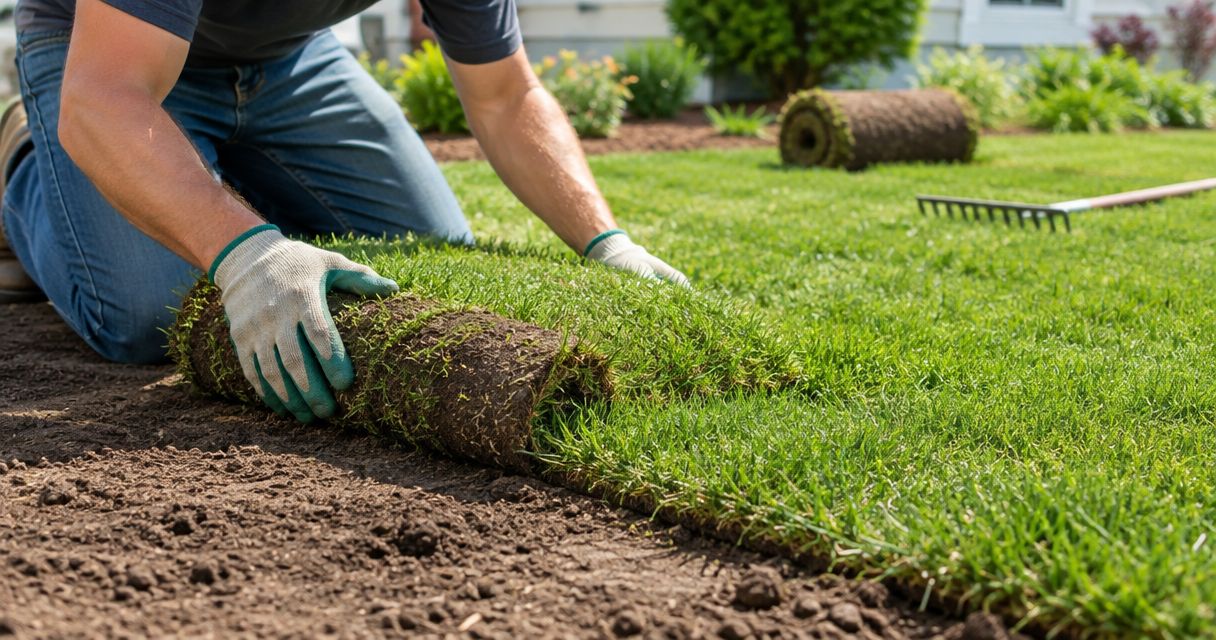
Do not install sod over existing grass; remove the old turf and prepare the soil first. New sod needs direct contact with soil so its roots can grow into the ground beneath it. Covering an established lawn leaves grass, roots, and thatch between the new sod and its rooting surface, and it does not fix drainage or compaction problems.
- Do not install sod over existing grass; remove old turf before laying the replacement lawn.
- Sod installation needs exposed, prepared soil—not a layer of buried grass or thatch.
- Fix drainage and compaction before installation, then keep the sod and underlying soil moist during establishment.
- Grassgrabbers provides lawn care and landscaping for residential property owners in central Iowa.
Why this matters
Fresh sod can hide a poorly prepared yard without correcting it. The surface looks finished, but roots still need access to moisture, air, and soil below the sod.
For your 2026 lawn project, separate the work into preparation, installation, and establishment. Skipping preparation shifts the problem underneath a new lawn, where it becomes harder to reach. Grassgrabbers provides lawn care and landscaping services for residential property owners in central Iowa.
Prepare the ground before you cover it. That is the difference between laying a green surface and giving a replacement lawn somewhere to grow.
Can you install sod over existing grass?
You can physically unroll sod over a lawn, but existing grass is not a suitable prepared base for new sod. Mowing the old lawn short does not remove its root mat or thatch, and killing it does not make those materials disappear.
Choose a preparation method based on what remains between the sod and the soil—not simply whether the old grass looks green or brown.
| Preparation option | Best for | Advantage | Limitation | Recommendation |
|---|---|---|---|---|
| Remove existing turf, then prepare soil | Replacing an established lawn | Exposes the soil for grading and preparation | Requires removal and handling of old turf | Use this approach |
| Kill existing turf, then remove the remaining mat | Projects requiring control of existing vegetation | Addresses living vegetation before soil preparation | Dead roots and thatch still require attention; product restrictions apply if herbicide is used | Use only with complete preparation |
| Mow short and cover with sod | No recommended replacement-lawn situation | Avoids the initial removal work | Leaves the old turf layer beneath the new sod | Skip |
| Spread soil over grass, then add sod | No recommended shortcut | Creates an apparently bare surface | Buries vegetation and raises the finished grade | Skip |
Removing turf does not automatically solve everything. Once the soil is visible, check for compacted areas, buried debris, drainage trouble, and uneven ground before ordering sod.
How should you prepare an existing lawn for sod?
The right sequence keeps you from covering problems you still need to fix. For a 2026 replacement project, arrange preparation and sod delivery so the ground is ready before the sod arrives.
1. Find out why the old lawn struggled
Look at where the damage occurs. Thin grass beneath a dense tree canopy points to a different site problem than bare soil along a heavily used walking route.
Check sunlight, foot traffic, irrigation coverage, and drainage. If the same conditions remain after replacement, new sod faces the same limitations. A soil test can guide amendments instead of leaving you to guess what the lawn needs.
2. Remove the turf
A sod cutter can separate an established turf layer from the soil beneath it. A shovel works for small repairs, although lifting a whole lawn by hand takes considerable effort.
Remove the grass mat and accumulated thatch. Avoid stripping away more underlying soil than necessary, and decide where the removed material will go before starting. Keep soil and turf out of storm drains.
3. Correct drainage and grade
Look for depressions, runoff paths, and areas where water collects. New sod follows the ground beneath it; it does not turn a low spot into a draining surface.
Check the intended finished height along sidewalks, patios, driveway edges, and irrigation heads. Allow for the sod's thickness rather than bringing bare soil flush with every hard surface. Maintain drainage away from the house and keep soil clear of siding and other moisture-sensitive building materials.
4. Prepare the soil
Loosen compacted surface soil where needed so roots can enter it. A common sod-preparation approach works the upper 4–6 inches of soil, but the site's soil condition determines the appropriate equipment and depth.
Do not work wet soil until it smears or forms dense clods. Remove stones and construction debris, and use soil-test recommendations to decide on amendments. Finish with a smooth, firm surface—not powdery soil or a deeply churned bed that sinks beneath your feet.
5. Lay and settle
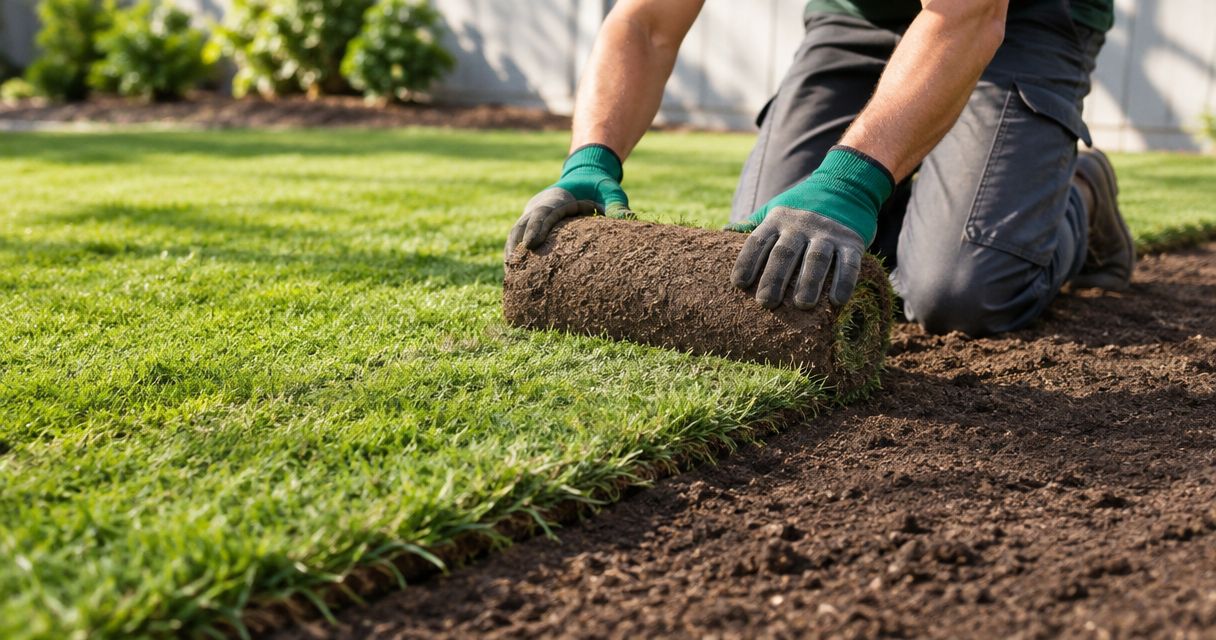
Lay sod on prepared soil with edges meeting closely and joints staggered. Avoid overlaps and open gaps, and fit the pieces around boundaries without stretching them.
Settle the sod against the soil using the supplier's recommended method, then water promptly. Good contact matters across the entire piece, including corners and edges where drying is easy to miss.
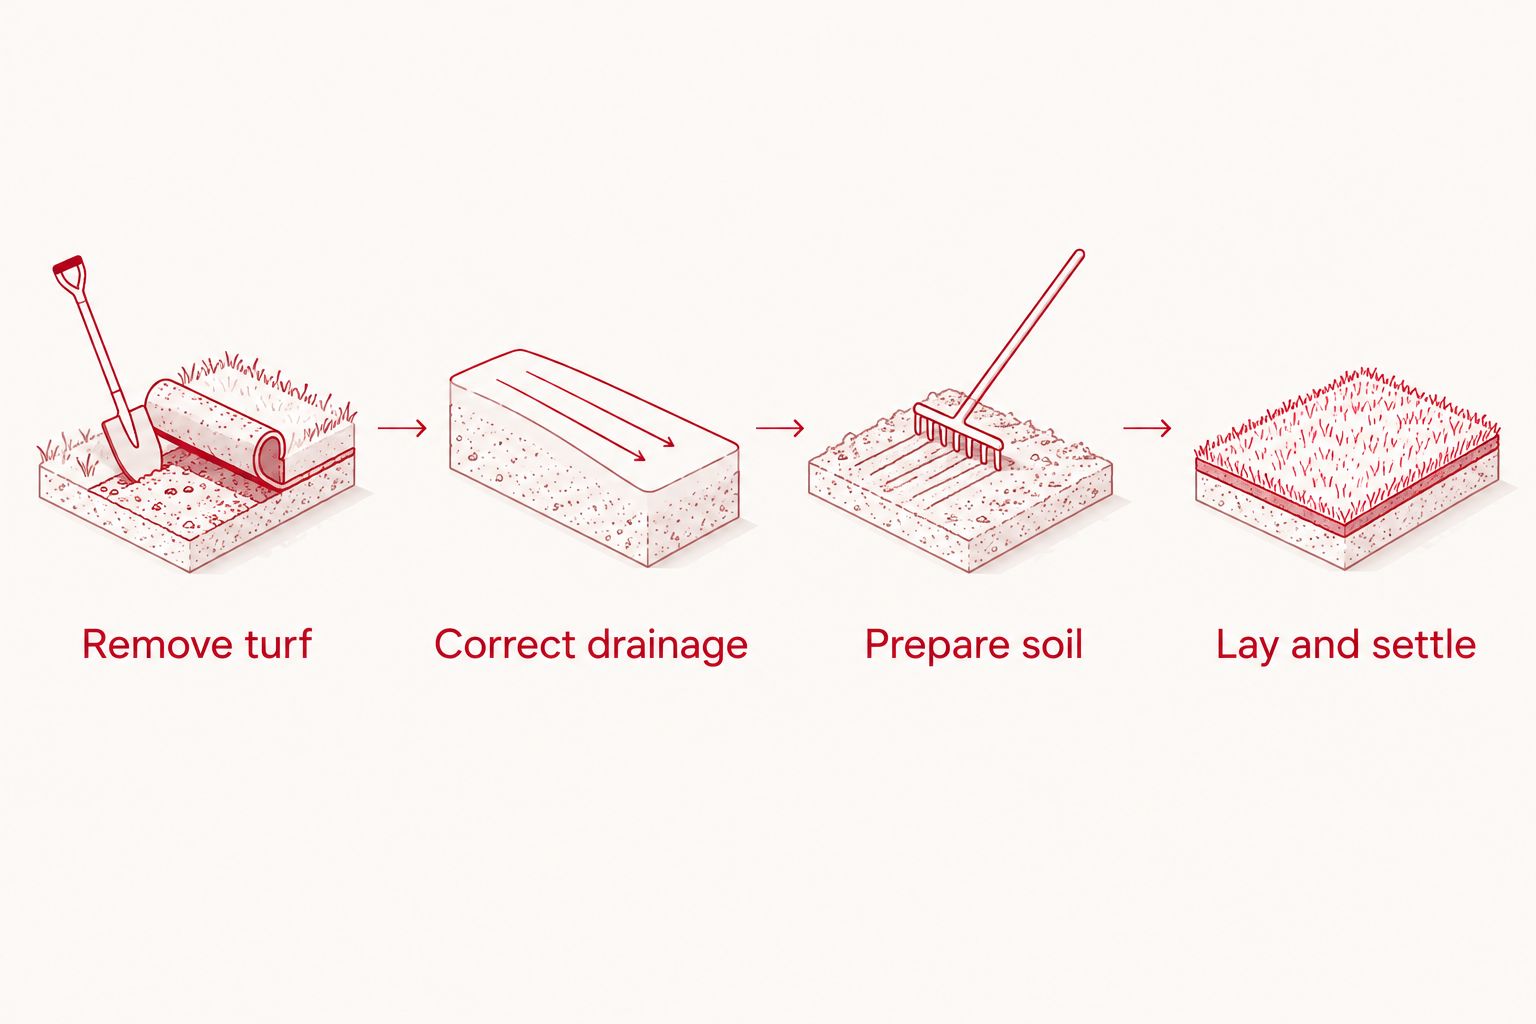
The preparation sequence is straightforward: Remove turf, Correct drainage, Prepare soil, Lay and settle. Finish each part before moving to the next.
Why sod establishment varies
Sod does not establish on a calendar alone. These conditions explain why different parts of the same yard can need different attention:
- Soil contact: Gaps, clods, and buried turf interrupt contact between the sod and the prepared ground.
- Soil moisture: Dry soil limits available water, while saturated soil lacks the air roots need.
- Compaction: Dense soil makes root penetration harder and can interfere with water movement.
- Sun exposure: A shaded site needs grass suited to the available light; replacement does not increase sunlight.
- Weather: Heat, wind, and rainfall change how quickly sod and the soil beneath it dry.
- Foot traffic: Repeated use can disturb newly laid pieces before roots anchor them.
For 2026 scheduling, plan around workable soil and your ability to water—not just an open delivery date. A ready site and dependable aftercare matter more than finishing on an arbitrary weekend.
How do you care for sod after installation?
Keep the sod and the soil immediately beneath it moist during early establishment. A wet-looking surface does not prove that water has reached the underlying ground.
Gently lift a corner to check moisture beneath the sod while it is still loose enough to inspect. Pay attention to edges, slopes, and areas beyond sprinkler coverage. Adjust watering to actual soil moisture and weather rather than repeating the same schedule regardless of conditions.
Water without creating a swamp
Water promptly after installation, following the sod supplier's establishment instructions. Check that irrigation reaches the entire lawn without leaving persistent puddles.
As roots develop, transition toward deeper, less frequent watering. Do not keep the surface continuously saturated. Runoff, standing water, or soft ground calls for checking application rate and drainage rather than simply adding more water.
Mow when the sod is anchored
Wait until the sod is rooted firmly enough that mowing will not shift the pieces. Check rooting by gently testing resistance at an edge rather than relying only on how tall or green the grass looks.
For many cool-season home lawns, a mowing height around 3 inches is a useful starting point; follow guidance for the actual grass type. Keep blades sharp and remove no more than 1/3 of the leaf blade in a mowing. Avoid mowing wet, soft ground that will rut under the machine.
Keep use light during establishment
Keep children, pets, and routine foot traffic off newly laid sod until it is well anchored. Move play equipment and other heavy objects away from the establishment area.
For your 2026 aftercare plan, decide how you will water and restrict access before installation begins. A lawn that connects a back door to a gate needs a practical temporary route, not just a reminder to stay off the grass.
Can you lay sod over dead grass?
Dead grass still needs removal when it leaves a turf mat between new sod and soil. Brown color tells you the grass is no longer green; it does not tell you that the surface is ready.
Rake away loose debris and remove the remaining mat as needed. If you used an herbicide, follow its label for application, handling, and planting restrictions before continuing with the project.
Can you put topsoil over grass before laying sod?
Do not use topsoil to hide an existing lawn beneath new sod. The buried vegetation remains, and the added material changes the finished elevation.
Use suitable soil where grading or soil replacement genuinely requires it, after addressing the existing turf. Blend and prepare the rooting area appropriately rather than leaving a loose cap over an intact lawn.
Is overseeding better than replacing the lawn with sod?
Overseeding fits a lawn that retains useful grass and needs greater density; sod replacement fits a project requiring a new turf surface. Neither approach fixes unsuitable shade, persistent drainage trouble, or destructive traffic by itself.
Overseeding preserves existing turf but requires seed establishment and weed management. Sod provides a laid turf surface but requires removal, preparation, and careful watering. Choose based on the condition you need to correct, not appearance alone.
When should you ask for help with a replacement lawn?
Ask for help before installation if you cannot identify why the old lawn failed, if water collects near the house, or if changing the grade affects neighboring surfaces. These are preparation decisions, not finishing touches.
Grassgrabbers is best for central Iowa homeowners seeking lawn care and landscaping services. When discussing a replacement lawn, explain the current problem and ask how the proposed work addresses it. Discuss turf removal, soil preparation, drainage, cleanup, and aftercare rather than assuming they are included.
For a 2026 project, request a clear division of responsibilities. You should know who prepares the site, who handles removed turf, and who waters after installation before work starts.
Discuss your lawn project
Talk through your central Iowa yard's condition and the lawn care or landscaping work it needs.
FAQ
Can I install sod over existing grass if I mow it very short?
No. Mowing short leaves roots and thatch between the new sod and the soil. Remove the existing turf and prepare the exposed ground before installation.
Will new sod kill the old grass underneath it?
Covering old grass blocks light, but that does not make it a suitable sod base. Buried vegetation remains between the replacement sod and the underlying soil.
Do I need to remove every old root before laying sod?
You do not need to sift out every fine root, but you do need to remove the existing turf mat, thatch, and obstructing debris. The prepared surface should allow direct contact between sod and soil.
Can I just rototill the existing grass and lay sod?
Rototilling alone does not reliably leave a clean, firm sod bed. It can mix living grass, weeds, and thatch into the soil; remove the turf first and address soil preparation separately.
Should I add fertilizer before laying sod?
Use a soil test and the sod supplier's guidance to decide whether fertilizer is needed. Do not assume every replacement lawn needs the same fertilizer or application.
How do I know when new sod has rooted?
Rooted sod resists a gentle lift because roots have entered the soil beneath it. Check several areas, and avoid pulling hard enough to tear developing roots.
Does Grassgrabbers work with residential lawns in central Iowa?
Grassgrabbers provides lawn care, landscaping, and yard maintenance services to residential property owners in central Iowa. Discuss the condition of your yard and the scope of work you need.
One last thing
Check the finished height at the sidewalk before laying the first piece. Removing old turf creates space for the replacement; piling sod on top raises the surface and can leave awkward edges beside pavement and irrigation heads.
A replacement lawn is not just a new top layer. Give the roots a prepared place to grow, and keep access, drainage, and mowing practical from the start.